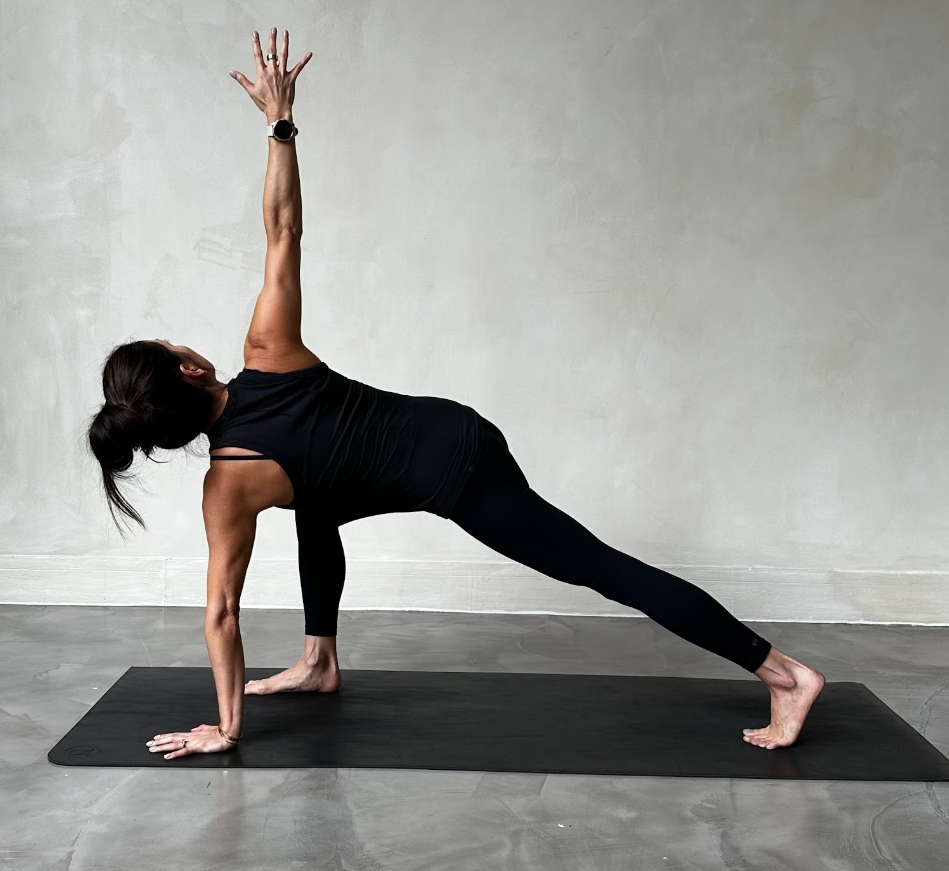
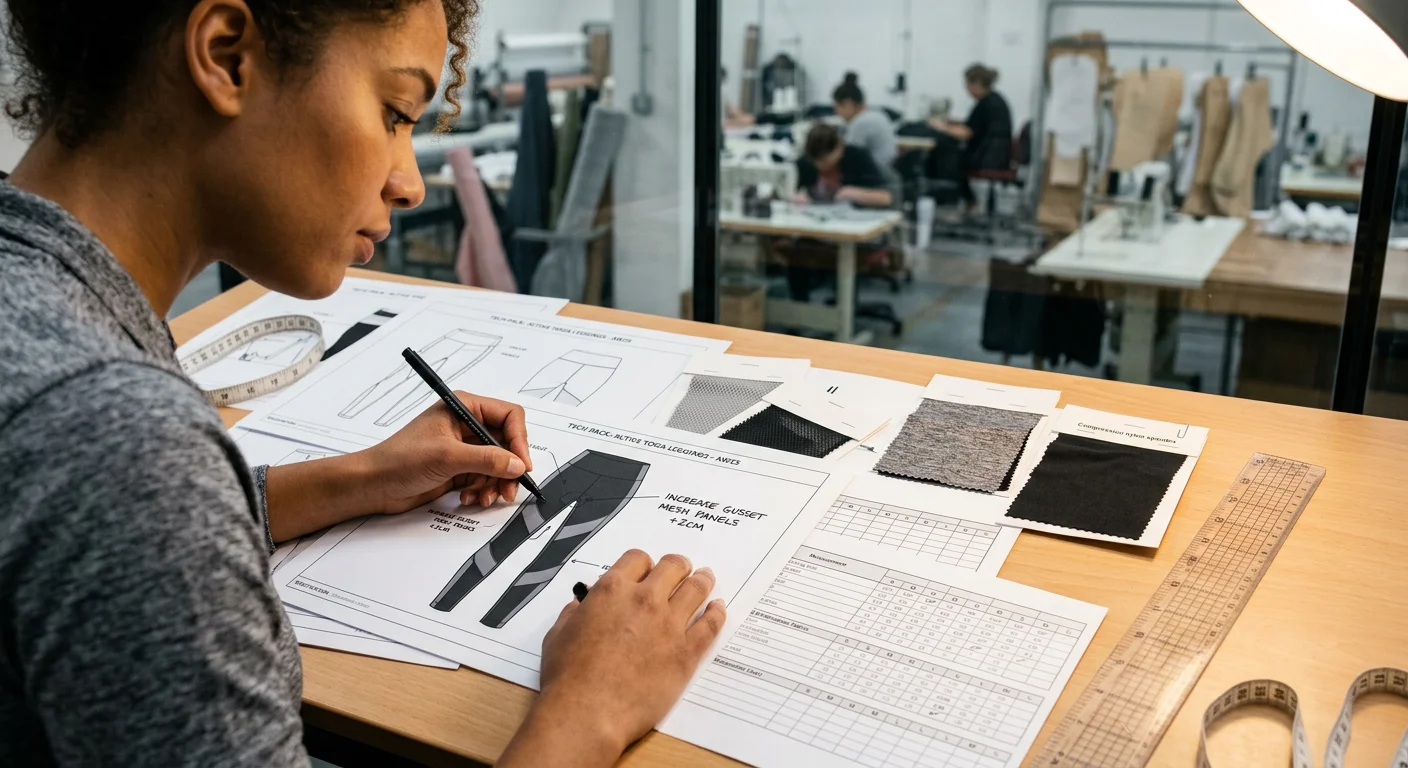
Every yoga legging in a customer's hands started as a document most founders never learned to write. A tech pack.
A vague or incomplete tech pack built from a generic garment specification sheet causes real damage. Generic sheets aren't built for four-way stretch fabrics or flatlock seams. Your sports clothing factory misreads it. Samples come back wrong. You spend thousands fixing problems that never needed to exist.
This guide is the one I wish I had when building my first activewear line. It covers every component of a factory-ready activewear tech pack — fabric specs for yoga wear, grading rules, colorway sheets, and construction details. All of it built for compression leggings, sports bras, and tanks that define your brand.
No fluff. Just the exact framework that gets samples right the first time.
Pre-Production Preparation: Aligning Design Concept with Activewear Manufacturing Standards
Most activewear brands don't fail at design. They fail in the gap between design and documentation.
Your activewear factory needs more than mood boards and inspiration images. They need measurable targets — numbers they can test, tolerances they can hold, and standards they can reject against. Pre-production preparation builds that bridge.
Start with your use case, not your aesthetic.
A hot yoga legging and a restorative flow legging look similar on a hanger. In practice, they are two different products:
Hot yoga demands fabric that stays squat-proof at 200–300 lux when wet . You also need quick-dry performance (50% moisture loss within 30–45 minutes) and 20–25% spandex content to stop saturation cling.
Studio/HIIT hybrids need 220–260 gsm compression fabric with ≥90–95% stretch recovery after 50% extension.
Restorative/mat flow puts handfeel first — brushed or peached surfaces with lighter 180–220 gsm construction and minimal hardware.
Athleisure crossover leans toward recycled nylon blends, clean seams, and lifestyle colorways over raw performance numbers.
Define your category first. Every spec decision flows from that.
Lock performance baselines your factory can test.
Vague language like "good compression" or "moisture-wicking" means nothing in production. Replace it with hard numbers:
Opacity : "Fabric must stay non-see-through at 200 lux in size M across full squat, forward fold, and lunge positions."
Compression : Medium = 10–15% negative ease at thigh, 18–22% elastane content.
Recovery : ≥90% return to original length after 50% stretch held for 30 seconds, maintained through 3 wash cycles at 40°C.
Colorfastness : Grade 4 minimum against sweat and wash (ISO/AATCC standard).
These aren't random numbers. They are the baseline that separates a credible tech pack from a guessing game.
Know your MOQ reality before finalizing construction.
More complex construction means higher costs and higher minimums. For small yoga brands, realistic benchmarks look like this:
Style | FOB Range | Realistic MOQ |
|---|---|---|
Leggings (poly/spandex) | $8–12 USD | 300–500 pcs/colorway |
Leggings (recycled nylon) | $12–18 USD | 300–500 pcs/colorway |
Sports bra (light support) | $6–9 USD | 300–500 pcs/colorway |
Sports bra (molded cups) | $8–12 USD | 500+ pcs |
Basic tank/racerback | $5–8 USD | 300 pcs |
Recycled nylon runs 15–30% more than conventional. Factor that into your pricing model before you lock fabric decisions — not after.
Use physical samples as your production anchor.
Before you submit your final tech pack, prepare two sample references:
Target Fit Sample — base size M, final bulk fabric, with written callouts at waist, hip, thigh, and compression zones.
Defect Sample — a physical example showing what you won't accept: visible camel-toe, waistband rollover, grin-through in squat. Tag each problem area with contrast tape and add written notes like "Do not allow this level of sheerness."
Put this line in your tech pack: "Bulk production must match TARGET FIT sample and avoid all issues highlighted on DEFECT sample."
That one sentence cuts out an entire round of sample revisions.
Activewear Tech Pack Architecture: The 12-Page Factory-Ready Structure

Twelve pages. That's the difference between a factory that nails the first sample and one that sends back something you don't recognize.
A factory-ready activewear tech pack isn't a mood board dressed up in tables. It's a decision document. It removes every chance for a factory to guess. Here's the exact structure, page by page.
Page 1 — Cover & Summary
Include the style name, season, colorway count, and a one-line performance brief. Put your brand logo and direct contact here. Every page after this needs a factory-facing page ID. No exceptions.
Page 2 — Fashion Mock-Up / Panel Layout
Add a front and back colored render. It should show seam placement, color-blocking, trim positions, and Pantone zone mapping per panel. This is where your factory sees the product — not reads about it.
Pages 3–4 — Technical Flats & Callout Mapping
Use vector line art. Show front, back, and side views. Keep proportions precise — these are not artistic sketches. Mark every seam, pocket entry, logo placement, and graphic zone. The factory should read structure, not guess at intent.
Page 5 — Bill of Materials (BOM)
Each row covers one component:
- Item number
- activewear Supplier
- Pantone code
- GSM and composition
- Stretch percentage
- Performance finish
- Unit consumption
- Cost field
Split into separate sections for fabrics, trims, labels, and hang tags. This is one of your three core working files.
Page 6 — Fabric Specification
Cover the dyeing method, brushing or peach finish, moisture-wicking rating, UPF 50+ status, anti-microbial treatment, and shrinkage tolerance. For activewear, shrinkage tolerance sits at ±3%. Attach GSM and finish notes to each material callout.
Page 7 — Garment Specification / Construction
Map out stitch types, seam allowances, bar-tack positions, and flatlock versus coverstitch choices. Call out every high-stress zone:
- Crotch seam
- Inseam
- Waistband channel
- Armhole
- Pocket entry
Page 8 — Measurement Spec Sheet
Build a POM table with size columns, tolerance limits, and relaxed-versus-stretched notation. Add measurement sketches that show precisely where the tape goes — no room for interpretation. Along with your flats and BOM, this is your most factory-critical file.
Page 9 — Colorway Sheet / Lab Dip Protocol
List Pantone TCX codes, colorway numbers, swatch references, and your lab dip approval steps. Dye-lot variance in activewear runs at ±5%. RGB visuals can support the spec — but Pantone stays the final binding reference.
Page 10 — Labeling & Packaging Spec
Cover these details on this page:
- Woven label placement
- Silicone patch versus screen print decision
- Care label compliance
- Polybag material
- SKU and barcode layout
- Hangtag die-line
The sports wear factory works straight from this page. Make sure every detail is clear.
Page 11 — Grading Rules / Tolerance Chart
Lay out incremental size steps, a critical-point versus standard-point tolerance matrix, and a stretch compensation formula. Women's activewear grades XS–L. Men's grades S–XL. Put your size split guidance here — not buried in an email thread.
Page 12 — Production Notes / Revision Control
This page holds the change-log table, D1/D2/S1 sample milestones, factory acknowledgment signature, and cost revision trigger conditions. Log every update. Track every version. Six months later, this page is what protects you if a dispute comes up.
One tech pack per style. Every time. Pull together your three core files — technical flats, BOM, and measurement spec sheet — and you have a document the factory can run with. No clarifying emails needed.
Activewear Performance Parameters & Bill of Materials Specification Mapping
The BOM is where good intentions become factory instructions — or where they fall apart.
Most founders treat the bill of materials like a shopping list. It isn't. For activewear, your BOM is a performance contract. Every row maps a material to a measurable standard. Miss a field, and your factory fills it in themselves. You end up with a 180 gsm shell when you needed 230 gsm, or a generic "moisture-wicking" finish with zero test benchmark behind it.
Here's how to map it the right way.
Performance Parameters Your BOM Must Quantify
Vague finish callouts are the most common tech pack error in activewear. Replace every general claim with a testable number or a named standard.
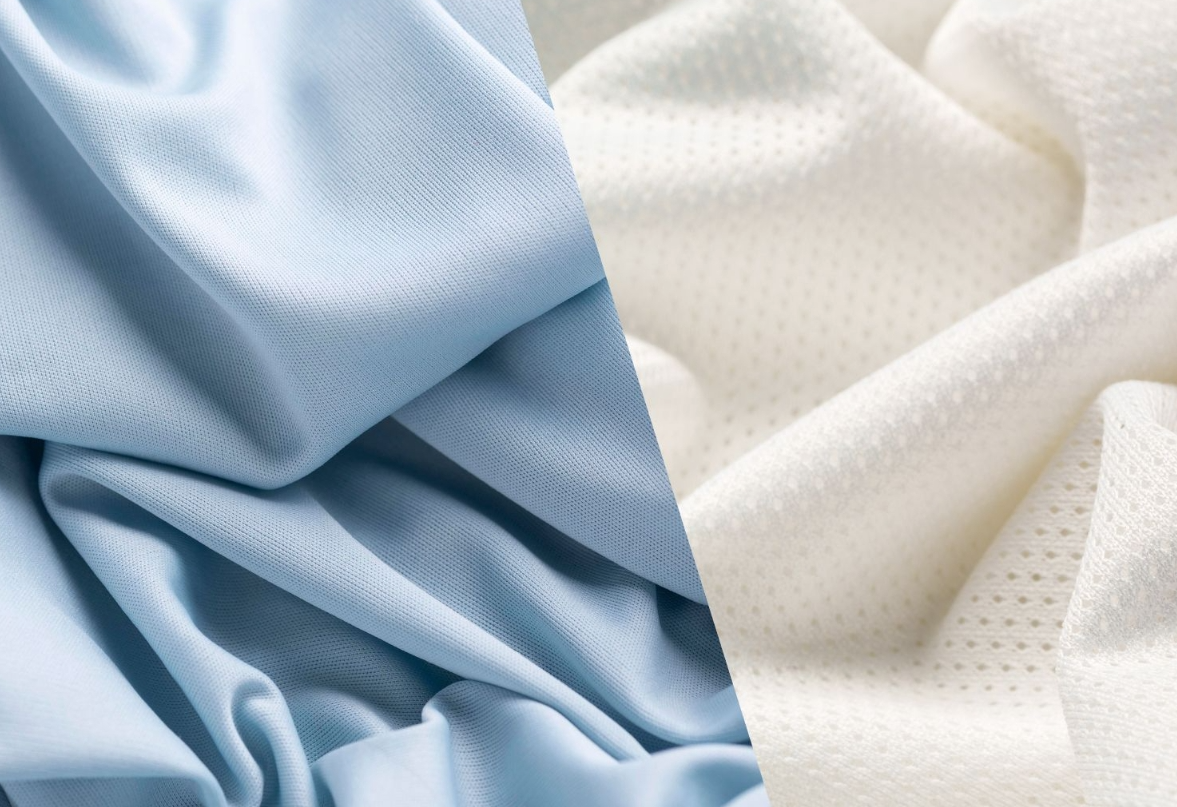
Fabric weight: Record exact GSM by style and colorway. The working range for core activewear knits is 180–260 gsm . Don't write "medium weight knit." Write "230 gsm, 78% nylon / 22% spandex."
Stretch axis: Use 4-way stretch when both crosswise and lengthwise recovery are required. Use 2-way stretch for directional fabrics like performance tanks. The direction matters — call it out in plain terms.
Recovery: Set ≥90% stretch recovery as your pass/fail threshold. Write it as a spec, not a preference.
Moisture-wicking: Reference AATCC 135 or an equal wicking standard. A "moisture-wicking finish" with no test reference gives you nothing to enforce.
Opacity: Require no light leakage at 200% stretch for fitted bottoms. Put the test condition right in your BOM comments column.
Pilling resistance: Set Martindale ≥20,000 cycles for high-wear performance knits. Anything below that wears out on a mat.
Colorfastness: Require Grade 4+ wash and light fastness , referenced to ISO 105-C06 . This is non-negotiable for dark colorways and printed panels.
Antimicrobial: Name the finish — Polygiene , silver-ion treatment — not "anti-odor." A named finish can be checked. A vague claim cannot.
UPF: Require UPF 50+ for any sun-exposed style. Add it to the BOM finish column, not just the fabric notes page.
Anti-static: Flag this for polyester-rich fabrics. This matters most for dry-climate markets where cling control is a real issue.
BOM Mapping by Style: Three Yoga Wear Examples
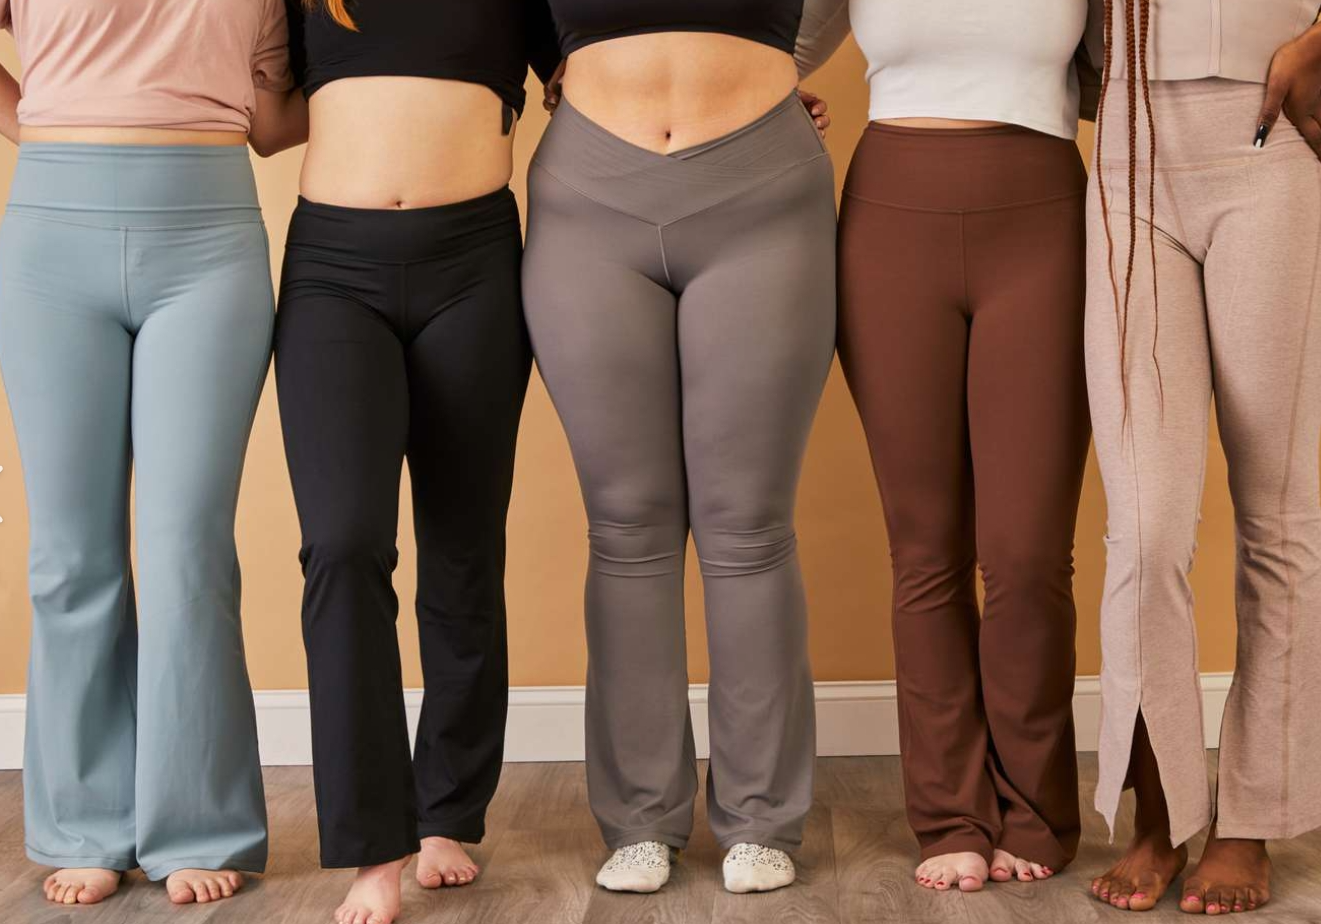
High-Waist 7/8 Yoga Legging
Component | Spec |
|---|---|
Shell fabric | 230 gsm, 78% nylon / 22% spandex, 4-way stretch |
Stretch targets | 150% crosswise / 130% lengthwise |
Compression | Medium |
Waistband pocket | Reverse-coil hidden pocket, 12 × 8 cm |
Gusset | Diamond gusset, 8 × 6 cm |
Thread | Tone-on-tone polyester core-spun |
Performance checkpoints | Squat-proof opacity, stretch recovery, pilling, colorfastness, anti-static |
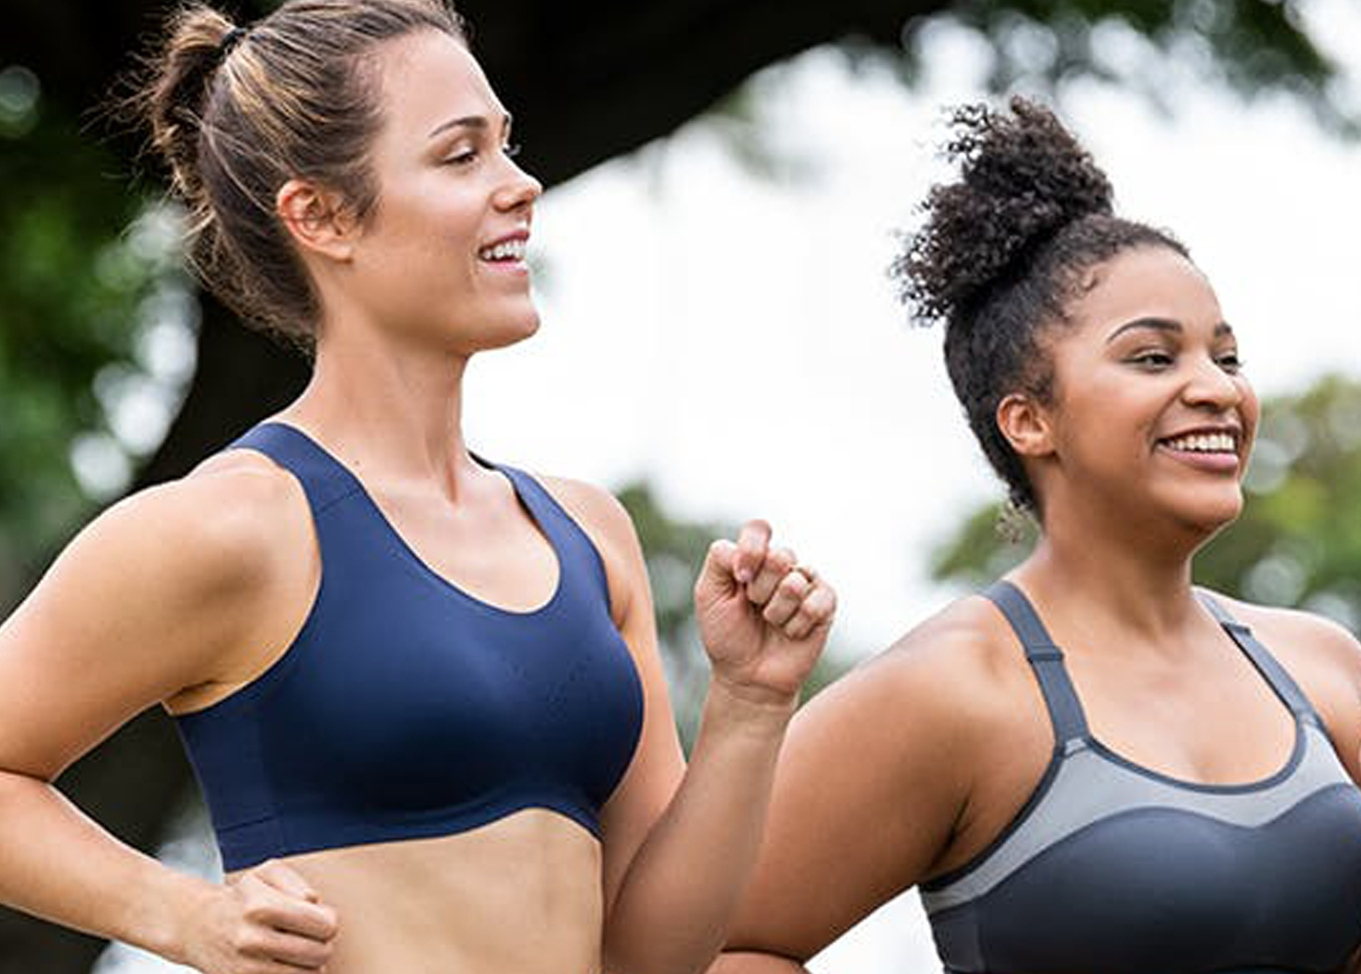
Medium-Support Racerback Sports Bra
Component | Spec |
|---|---|
Shell | 220 gsm brushed matte knit |
Underband lining | Power mesh, 180 gsm |
Elastic | 3 cm non-roll soft elastic, 120% yield |
Cup detail | Removable pocket, 0.3 cm seam allowance |
Closure | Adjustable plastic hook |
Performance checkpoints | Support level, recovery, opacity, wash fastness, anti-odor finish |
Performance Crop Tank
Component | Spec |
|---|---|
Shell | 210 gsm, 80% recycled polyester / 20% elastane, 2-way stretch |
Finish | Quick-dry treatment |
Hem | Side-seam split, 4 cm |
Neck | Raw-edge clean finish binding |
Performance checkpoints | Moisture-wicking, breathability, pilling, colorfastness |
Thread, Hardware, and Trim Mapping
These rows get skipped. They shouldn't.
Coverstitch thread: Polyester 60/3, tonal match
Flatlock needle: 11/75
Pocket zipper: YKK reverse coil #3
Logo application: Silicone heat-transfer with low-temp peel spec
Woven label: 2 × 2 cm, left back yoke placement
Every trim row in your BOM needs six fields locked before bulk: item description, quantity, unit of measure, fitness wear supplier, cost, and exact measurement. Add a wastage buffer — 3–5% for cutting loss is a solid standard — plus an approval status column. No component moves to bulk without a confirmed approval status. That one column stops last-minute swaps from wrecking an entire production run.
Technical Flat Drafting & Activewear Construction Detail Protocols
A technical flat is not a pretty picture. It's a contract between your design intent and the factory floor. In activewear, panels move, seams stretch, and gussets take real stress. An unclear flat costs you a full sample round.
Here's how to draw one that works.
The Non-Negotiable Rules for Activewear Flats
Keep it black-and-white vector linework. No shading, no shadows, no color fills. Your flat should look orthographic and proportional — like a technical blueprint, not a fashion illustration. Add body contours or artistic drape, and you're communicating aesthetics instead of construction.
For activewear, always include front, back, and side views . Side views are not optional extras. They're where waistband height, crotch geometry, and seam routing become readable. A custom activewear factory patternmaker needs to see how your seams wrap the body before cutting a single panel.
Export as a locked PDF for factory review, plus an editable vector AI file for revision control. Both. Every time.
Construction Callouts That Communicate Clearly
The callout layer is where most founders lose the factory. Labeling a seam "flatlock" tells half the story. A complete construction callout tells the full one:
For leggings and bottoms:
- Draw the waistband as a distinct structural piece , not a folded-over extension. Note finished width ( 5 cm ) and seam allowance ( 1.5 cm folded ) right on the flat.
- Call out diamond gusset placement at the crotch with a note on reinforced stitching at the apex. That one detail prevents the most common high-wear failure point.
- Show hidden pockets as internal construction elements. Include orientation, approximate dimensions, and whether the opening is zipperless. Don't make the factory guess.
- Mark rise and inner-leg seam routing with clear labels. This is where mobility and comfort are decided.
For sports bras:
- Annotate strap attachment points , underband reinforcement zones , and racerback cross-points right on the flat. These are load-bearing features, not styling details.
- Call out flatlock-to-coverstitch transitions on inner curves where chafe reduction matters for fit and function.
- Show cup pocket openings with exact placement relative to the underbust seam line.
Stitch-Type Matrix for Performance Fabrics
Don't list stitch types in a footnote. Build a stitch legend that maps each stitch to a specific construction zone:
Stitch Type | Zone | Why It Matters |
|---|---|---|
4-needle, 6-thread flatlock | Inner thigh, back rise, gusset | Low-friction seam, full stretch retention |
3-needle coverstitch | Hems, necklines | Clean finish, stretch-compatible |
4-thread overlock | Side seams, armholes | Secure formation under lateral stress |
Bartack | Pocket corners, strap joins | Reinforces high-stress intersections |
Annotate stitch density in SPI on the callout layer — not in a spec note buried on Page 12. The wholesale activewear factory machinist reads the flat, not the footnotes.
Seam Allowance, Edge Finishing, and Special Treatments
Standard activewear seam allowance runs 0.6–0.8 cm on performance seams. Use wider allowances wherever elastic insertion or binding is required. Call that out on the flat so the cutting team and finishing team share the same reference point.
Two finishing treatments that get skipped and cause production errors:
Bonded seams: Using heat-activated polyurethane tape instead of thread? Your flat needs to call out the press parameters. "Bonded seam" with no temperature or dwell time spec gives the factory nothing to work with.
Ventilation zones: Laser perforation and mesh cutout areas are separate construction features. Mark them as distinct elements on your flat so pattern, cutting, and finishing each know their own scope of work.
Branding Placement on the Flat
Logo and label placement belongs on the technical flat — not in a separate email. To be clear:
Woven or care labels: Place at the inner side seam or inner hem to keep them away from skin contact zones.
Heat-transfer or silicone branding: Show the exact offset from a fixed seam reference point . "3 cm below center back neckline seam" is repeatable across sizes. "Upper back" is not.
Patches or embroidery: Place on stable, low-distortion zones like the center back yoke. High-stretch panels shift placement across the size run.
Your flat, construction callouts, stitch legend, and branding map together make up the most factory-critical pages in your tech pack. Get these right, and your patternmaker has everything needed to cut a first sample — no clarifying email required.
Measurement Specification Sheets, Colorways & Grading Rules Compilation
Three documents decide whether your first sample fits or fails: the measurement spec sheet, the colorway sheet, and the grading rules table. Get all three right, and your factory has no room to guess. Miss any one, and you're paying for another sample round.
Measurement Specification Sheets
Record every point of measure (POM) in centimeters , taken flat with zero tension. That's your RELAXED value. For compression zones — waist, underbust, thigh — add a second column: STRETCHED TO TARGET . Note the exact percentage extension expected for each zone.
High-Waist Legging — Base Size S Critical POMs
POM | Relaxed Spec | Tolerance | Method |
|---|---|---|---|
Waist circumference | 62 cm | ±0.5 cm | 1 cm below top edge, no tension |
Hip @ 9 cm below waist | 80 cm | ±1.0 cm | Side seam reference, measure across |
Thigh @ 2 cm below crotch | 48 cm | ±1.0 cm | Square out from inseam |
Inseam length | 68 cm | ±0.5 cm | Crotch point to finished hem |
Front rise incl. waistband | 24 cm | ±0.5 cm | CF top edge to crotch seam, follow curve |
Back rise incl. waistband | 32 cm | ±0.5 cm | CB top edge to crotch seam, follow curve |
Waistband height | 8 cm | ±0.5 cm | Note if 2-layer folded (2 × 4 cm) |
Gusset length | 15 cm | ±0.5 cm | Along seam lines, not overlock edge |
Sports Bra — Base Size S Critical POMs
POM | Spec | Tolerance | Note |
|---|---|---|---|
Bust width (½ underarm) | 36 cm | ±1.0 cm | 1 cm below armhole seam |
Underbust width (½) | 32 cm | ±0.5 cm | Bottom bra body edge, exclude band |
Strap length | 27 cm | ±0.5 cm | Apex over shoulder to back join |
Cup depth | 6 cm | ±0.5 cm | Deepest point to frame seam |
Bottom band height | 5 cm | ±0.5 cm | Specify elastic height if encased |
Add labeled measurement sketches for front, back, side, and crotch detail views. Use arrows to show exact tape placement. Every arrow gets this annotation: "Measure flat on table, garment smoothed, no stretch unless specified."
Tolerance logic is simple:
- Critical fit points (waist, underbust, rise, inseam, straps): ±0.5 cm
- Body circumference and width points: ±1.0 cm
- Elastic and stretch-finish circumferences: ±1.5 cm after full relaxation
Colorway Sheet & Lab Dip Protocol
Every color reference in your tech pack must be a Pantone FHI TCX code — not an RGB value, not a screenshot, not "similar to sage green." RGB references are visual guides only. Pantone TCX is the binding standard your dye house tests against.
Require at least 3 lab dips per color , submitted on your actual base fabric before bulk approval. Track each one with an approval status field: Pending / Approved / Rejected . Include the approved dip ID and sign-off date.
For color-blocked styles , give each panel its own Pantone reference. Put a front/back color map diagram on the colorway page. Panel A gets one code. Panel B gets another. No shared references between panels.
Two technical warnings worth knowing before production starts:
Cross-dyeing in nylon/spandex blends : Nylon and spandex absorb dye at different rates. Run pre-production trials to confirm levelness. Set a shade tolerance of ΔE ≤1.0–1.5 between body fabric and trims on the same garment.
Print alignment tolerance : For sublimation or digital prints with stripe or seam-matched patterns, specify ±0.3 cm at all designated alignment points. A side seam stripe that shifts just 0.5 cm looks wrong on a finished garment — it's visible right away.
Grading Rules Table
Grade women's activewear across XS, S (base), M, L, XL . Men's grades run S, M, L, XL .
Standard increment rules:
POM | Increment Per Size |
|---|---|
Waist circumference (leggings) | +4 cm |
Hip circumference | +4 cm |
Inseam length | 0 cm — single length across all sizes |
Front and back rise | +0.5 cm per size |
Bust circumference (sports bra) | +5 cm |
Cup depth (molded) | +0.8 cm per size |
Inseam stays constant across sizes — that's the athleisure standard. Rise grades in small steps: front rise moves from S 24 cm → M 24.5 → L 25 → XL 25.5. Back rise follows the same pattern.
Use fixed rule-based grading for body circumferences. Use proportional grading for structural elements like strap length or gusset width. Those scale with body geometry, not just size number.
One last point: all graded measurements carry the same tolerance rules as your base size POM table. A looser tolerance at size L than at size S creates fit problems across your size run. Hold the same standard across every size, every time.
Factory Communication Workflow & Tech Pack Pitfall Fixes
Most sampling disasters aren't design failures. They're communication failures. A clear, structured workflow is the fix.
The goal is simple: your tech pack is the single source of truth. Every performance detail gets documented, tested, and approved before bulk production starts. The factory decides nothing on their own.
The Five Pitfalls That Burn Small Brands
Pitfall 1: Missing stretch recovery specs
Label something a "compression legging" with no recovery test requirement. You'll end up with bottoms that go soft after three wears. Fix it now. In the fabric block, require ≥90–95% recovery after 50% extension across 5 cycles (reference ASTM D2594). Add this rejection clause: "Reject if growth exceeds 5% after 30 min rest at 21°C / 65% RH." Bulk knitting doesn't start until the factory submits a lab-stamped tensile report.
Pitfall 2: Seam type left to interpretation
"SA: 1 cm, overlock" is not a construction spec. It's an invitation for inner-thigh chafing. Replace it with a seam matrix. One row per seam location, locked as a PDF. Include stitch code, SPI range, seam allowance in millimeters, and thread type. All of it, spelled out. This is not optional.
Pitfall 3: Vague gusset detail
"Add gusset" with no dimensions means the activewear manufacturer guesses. The crotch seam becomes a failure point under squat and lunge load. Include a flat sketch with exact dimensions (e.g., 10 × 7 cm at size M). Show the corner radius and grainline. Add this callout: "Cross bar-tack at all 4 gusset corners, 8–10 mm, 20–24 stitches."
Pitfall 4: Color references without a lab dip protocol
Color names and RGB screenshots are not standards. Require Pantone TCX codes per component. Use physical A4 swatches evaluated under D65 daylight and UV blacklight. Write a ΔE ≤1.5 tolerance clause straight into the PO. No bulk dye booking happens without a signed lab dip record in the change log.
Pitfall 5: No opacity test condition
Light-colored leggings can pass a flat-table check and still fail under studio lighting mid-squat. Be specific: "Fabric stretched to 120% of relaxed width over black underlay, evaluated at 1000–1500 lux. No visible skin tone at 120% stretch." Attach photos. Run the same test again at PP sample approval.
The Factory Communication Sequence
Send your tech pack as a locked PDF (master reference) plus an editable Excel BOM for measurements, yield inputs, and cost fields. File naming: StyleCode_V1.0_YYYY-MM-DD . No exceptions.
From there, the workflow runs in five steps:
Acknowledgment within 48 hours — the factory confirms receipt and sends all questions in one consolidated email
Kickoff call — walk through the tech pack page by page; cover target FOB, MOQ, lead time, and quality non-negotiables
D1/D2 digital pattern review — check gusset geometry, stretch direction, and grading increments before any cutting starts
S1 sample evaluation — check fit, seam construction, recovery, and opacity against the spec at the same time; log every comment in a shared change log
Gold seal approval — cap revisions at two rounds; every change gets written down, version-controlled, and signed off by both parties
Verbal change requests don't exist in this workflow. Every adjustment gets a Change ID, a description, a tech pack page reference, an owner, and a status. Six months later, that log is what protects you.
Tech Pack Software Evaluation for Independent Yoga Apparel Development

Three tools do the real work here: Adobe Illustrator (with plugins), Techpacker, and CLO3D. Each one solves a different problem. None of them replaces the others.
Adobe Illustrator + Tech Pack Wizard (~$22–25/month)
This is where your flats live. Vector precision lets you place a thigh logo 70 mm from the hem, map flatlock seams on inner leg panels, and break out crotch gusset geometry — all in one file. The Tech Pack Wizard plugin automates spec tables and measurement callouts without leaving Illustrator. The learning curve is steep. But the output is clean and precise.
Techpacker ($35–95/month)
Your flats are done — now Techpacker handles the rest. BOM cards, POM tables, colorway approvals, revision history — all in one place. Your activewear factory in Shenzhen or Porto gets a shared link. No tangled email chains. Lab dip status, fit sample comments, GSM updates after squat-test feedback — everything stays logged and accessible.
CLO3D (~$450/year)
Cut no physical samples yet. CLO3D lets you simulate compression distribution, check sheerness over the seat in a deep squat, and assess waistband roll risk across avatar sizes XS–XL. You'll need solid hardware and time to learn it. But finding a gusset problem in simulation costs nothing. Finding it after S1 sampling costs you time, money, and a full extra production round.
Illustrator + TPW | Techpacker | CLO3D | |
|---|---|---|---|
Primary role | 2D flats & callouts | Spec/BOM/revision tracking | 3D fit & stretch validation |
Learning curve | High | Medium | High |
Monthly cost | ~$23–25 | $35–95 | ~$38 (annual) |
Best for | Factory-ready flat files | Factory communication | Pre-sample fit validation |
Here's the practical workflow: draft flats in Illustrator → export to Techpacker for structured documentation → validate compression and fit in CLO3D before committing to physical samples. This stack won't eliminate sampling. It will cut your revision rounds from four or five down to one or two.
Conclusion
Your tech pack is not paperwork — it's power.
Every flatlock stitch notation, every four-way stretch recovery percentage, every tolerance chart you fill in — each one is a direct negotiation tool. Factories see that detail and know you understand your product. That alone changes how they price your orders, how fast they move on them, and how much they respect your business.
Here's what this guide gave you:
A complete 12-page activewear tech pack architecture built for yoga wear
Performance fabric specification standards that generic templates skip over
A activewear wholesaler communication framework that cuts your sampling rounds in half
Now do one thing. Open a blank document tonight. Sketch out your first garment specification sheet for your hero product. Don't wait until the design is perfect. Building your tech pack is part of designing it.
The brands that manufacture with precision aren't the most creative ones. They're the most prepared.
Be that brand.